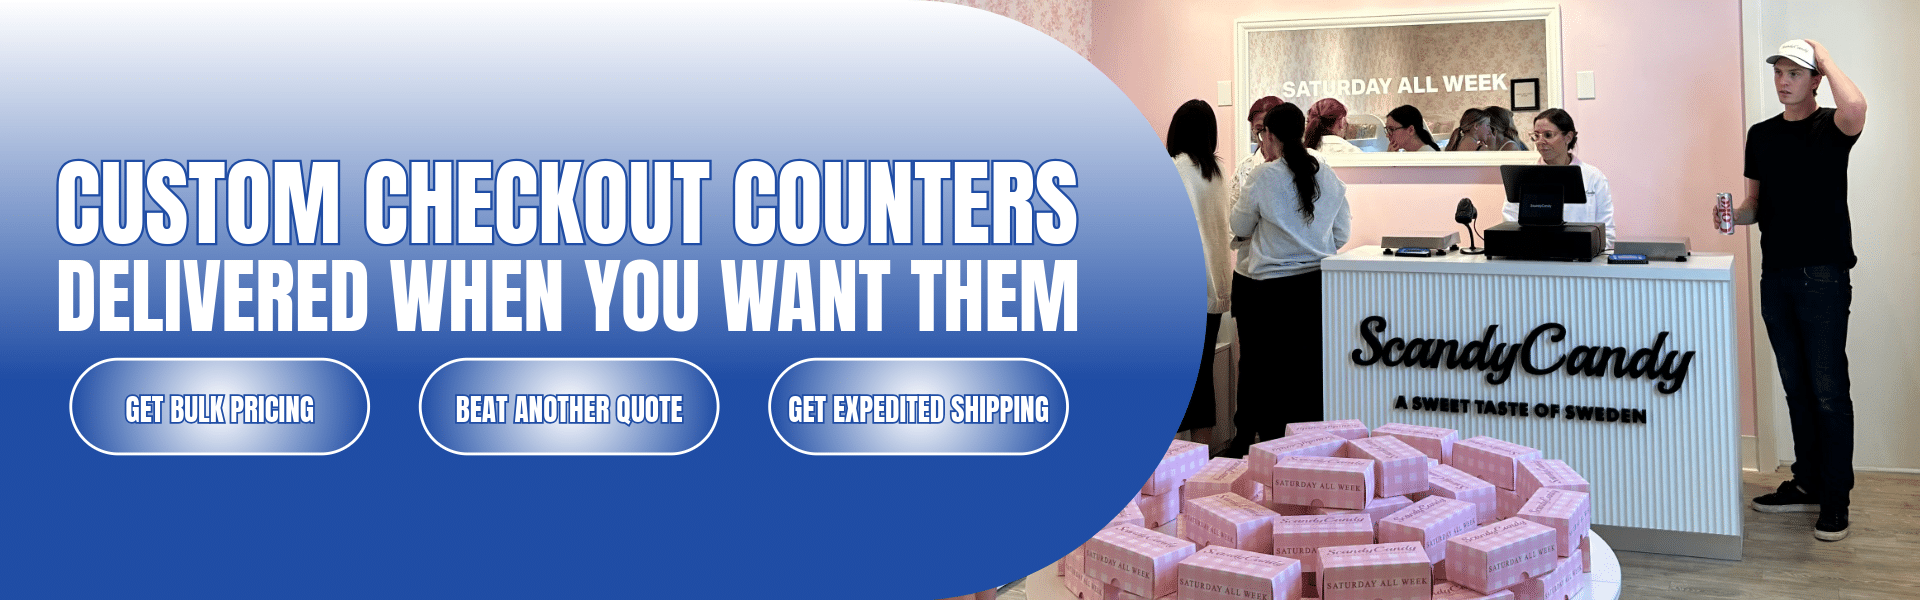
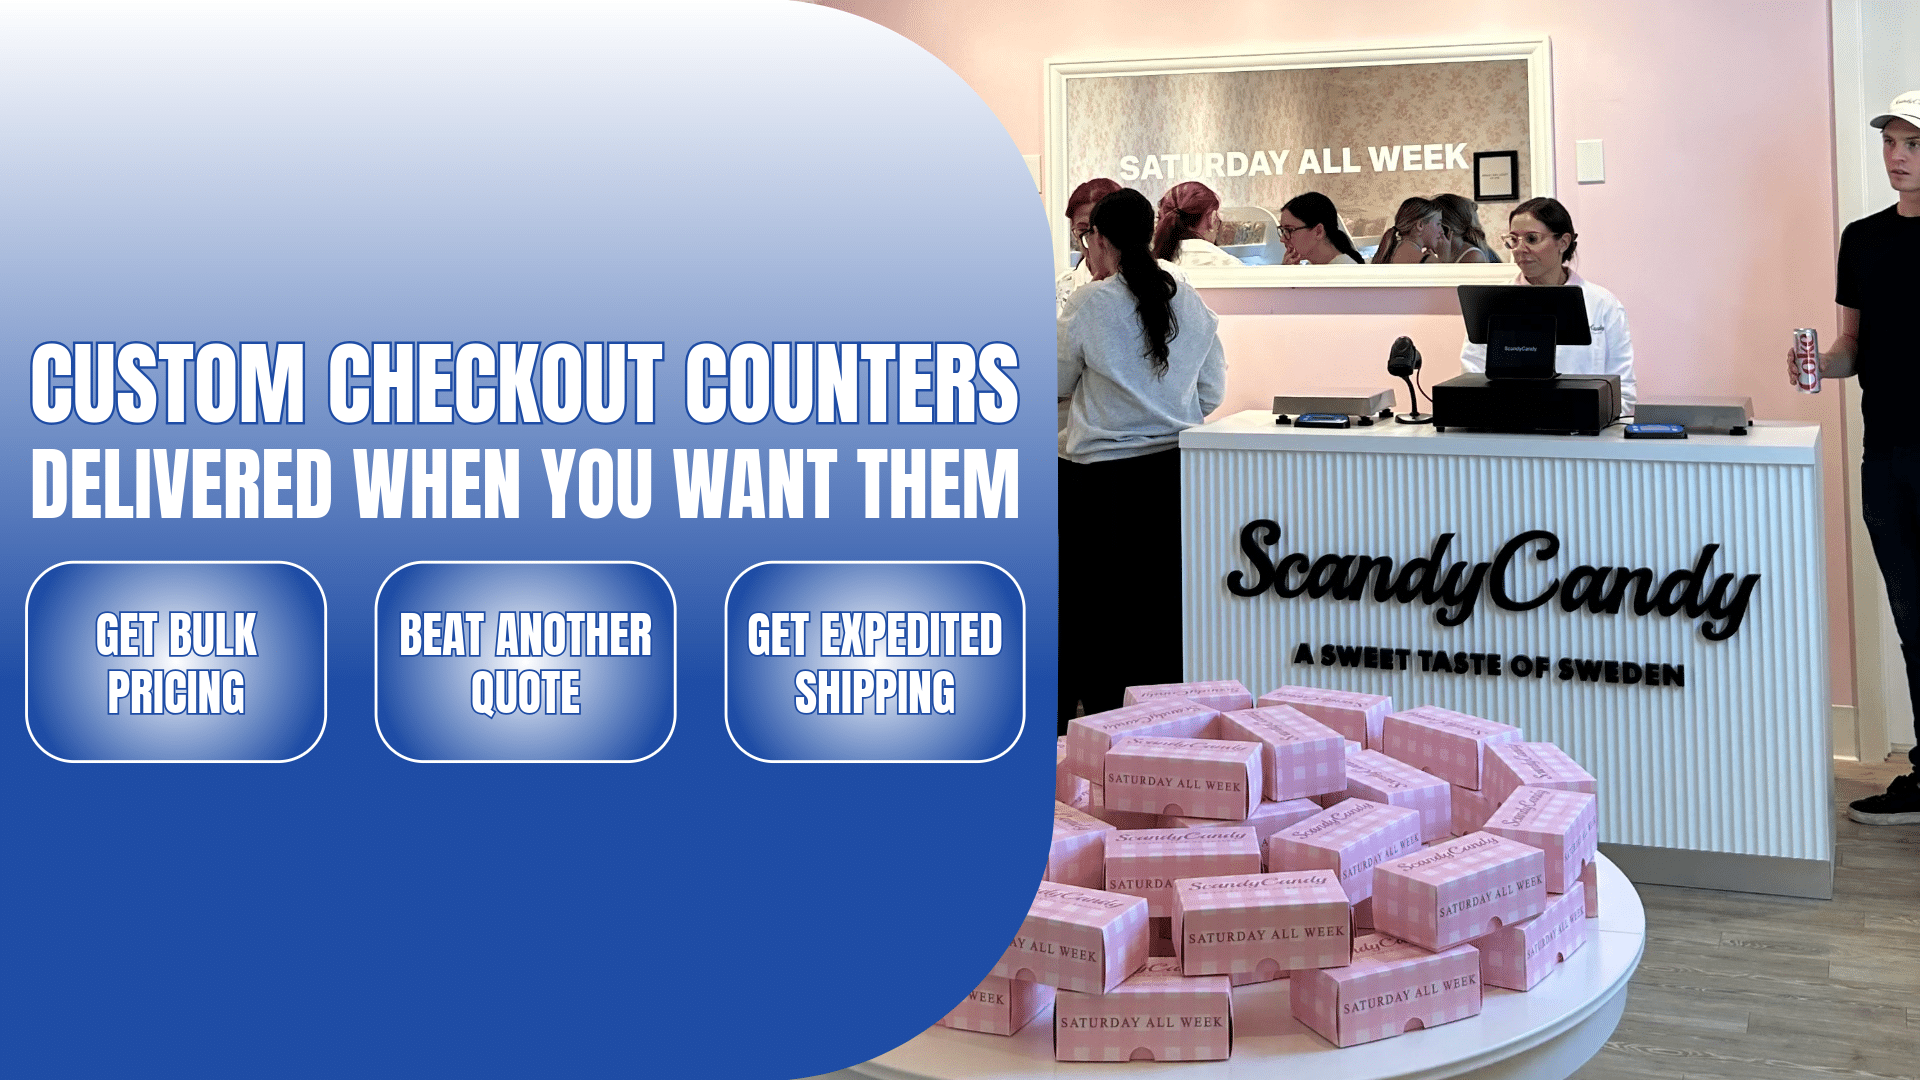
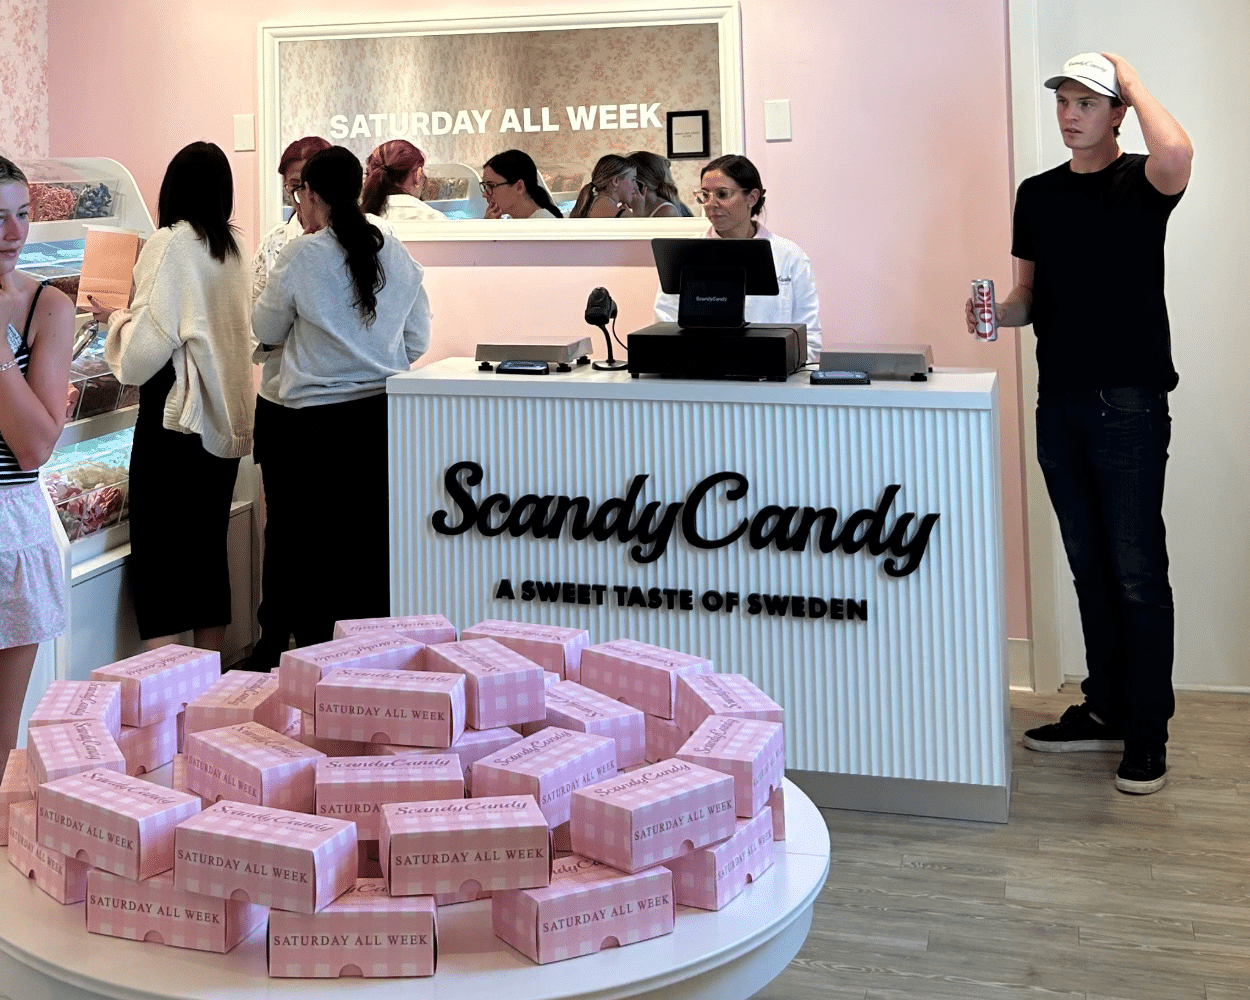
Built for Your Brand
YOUR COUNTER. YOUR WAY.
From first measurements to final delivery — we handle every detail so you get a checkout counter that's completely yours.
Custom LED Lighting
LED Lighted Letters
Custom Dimensions
ADA Compliant
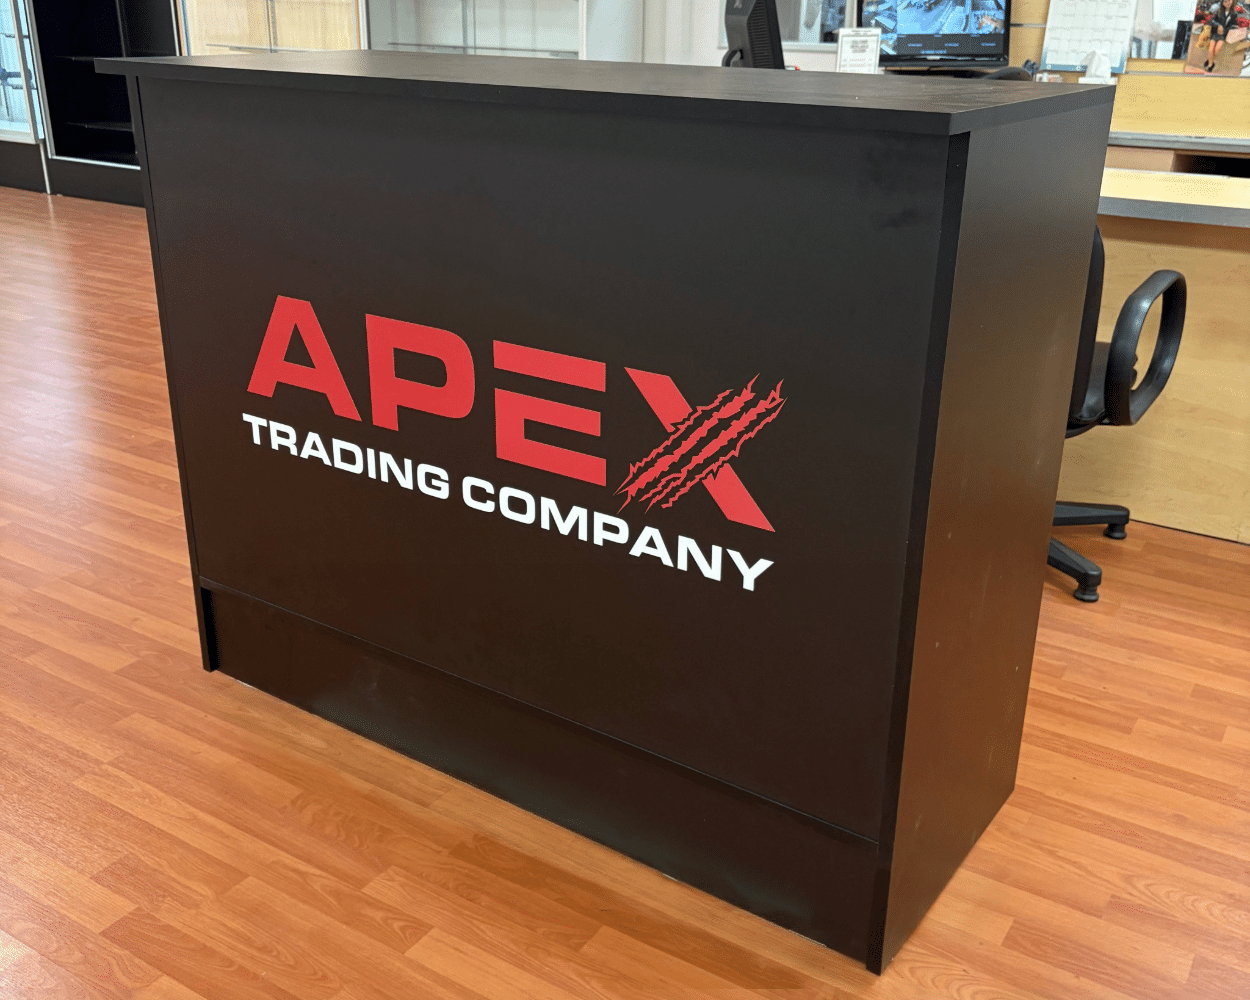
Logo Branding
Custom Colors
Custom Materials
Security Locks
3D Preview
White-Glove Delivery
Design
Build
Deliver
01
Choose Size & Dimensions
We'll nail down the exact length, depth, and height to fit your space perfectly — whether it's a boutique corner or a big-box checkout lane.
▾
02
Decide on Functionality
Pre-drilled wiring holes, interior storage compartments, drawer configurations, POS mount cutouts — efficiency and practicality built in from day one.
▾
03
Pick Colors & Materials
Your checkout counter is the centerpiece of your store. Choose from our palette or specify custom finishes — laminates, metals, wood tones, and more.
▾
04
Add Lighting & Branding
Elevate your counter with integrated LED lighting, illuminated logo letters, or a printed front panel. We make your brand impossible to miss.
▾
05
Security & ADA Compliance
Add locks wherever needed. We also ensure full ADA compliance so you're protected from day one — no retrofitting headaches down the road.
▾
06
Approve Your 3D Model
Before a single screw is turned, you'll see a photorealistic 3D render of your counter. Nothing moves to production until you say it's perfect.
▾
07
Production Begins
Our craftspeople get to work the moment you approve the design. Typical production runs 2–3 weeks — we do all the heavy lifting.
▾
08
Quality Control
Every counter goes through a thorough inspection before it leaves our facility — checking fit, finish, hardware, and lighting function.
▾
09
Crated for Safety
Your counter is secured inside a custom wooden crate engineered to absorb freight impact. It arrives in showroom condition, guaranteed.
▾
10
Fast Freight Shipping
Anywhere in the US, your counter ships via freight and arrives in under 7 days after packaging is complete.
▾
11
Scheduled Delivery Day
The freight driver calls ahead to coordinate a delivery window that works for you, then unloads the crate right at your door.
▾
12
Show It Off
Snap a few photos once it's set up! We love featuring our counters to inspire the next store owner — and it's great exposure for your brand too.
▾
No commitment required — we'll walk you through the options.
Request a Custom Checkout Counter Quote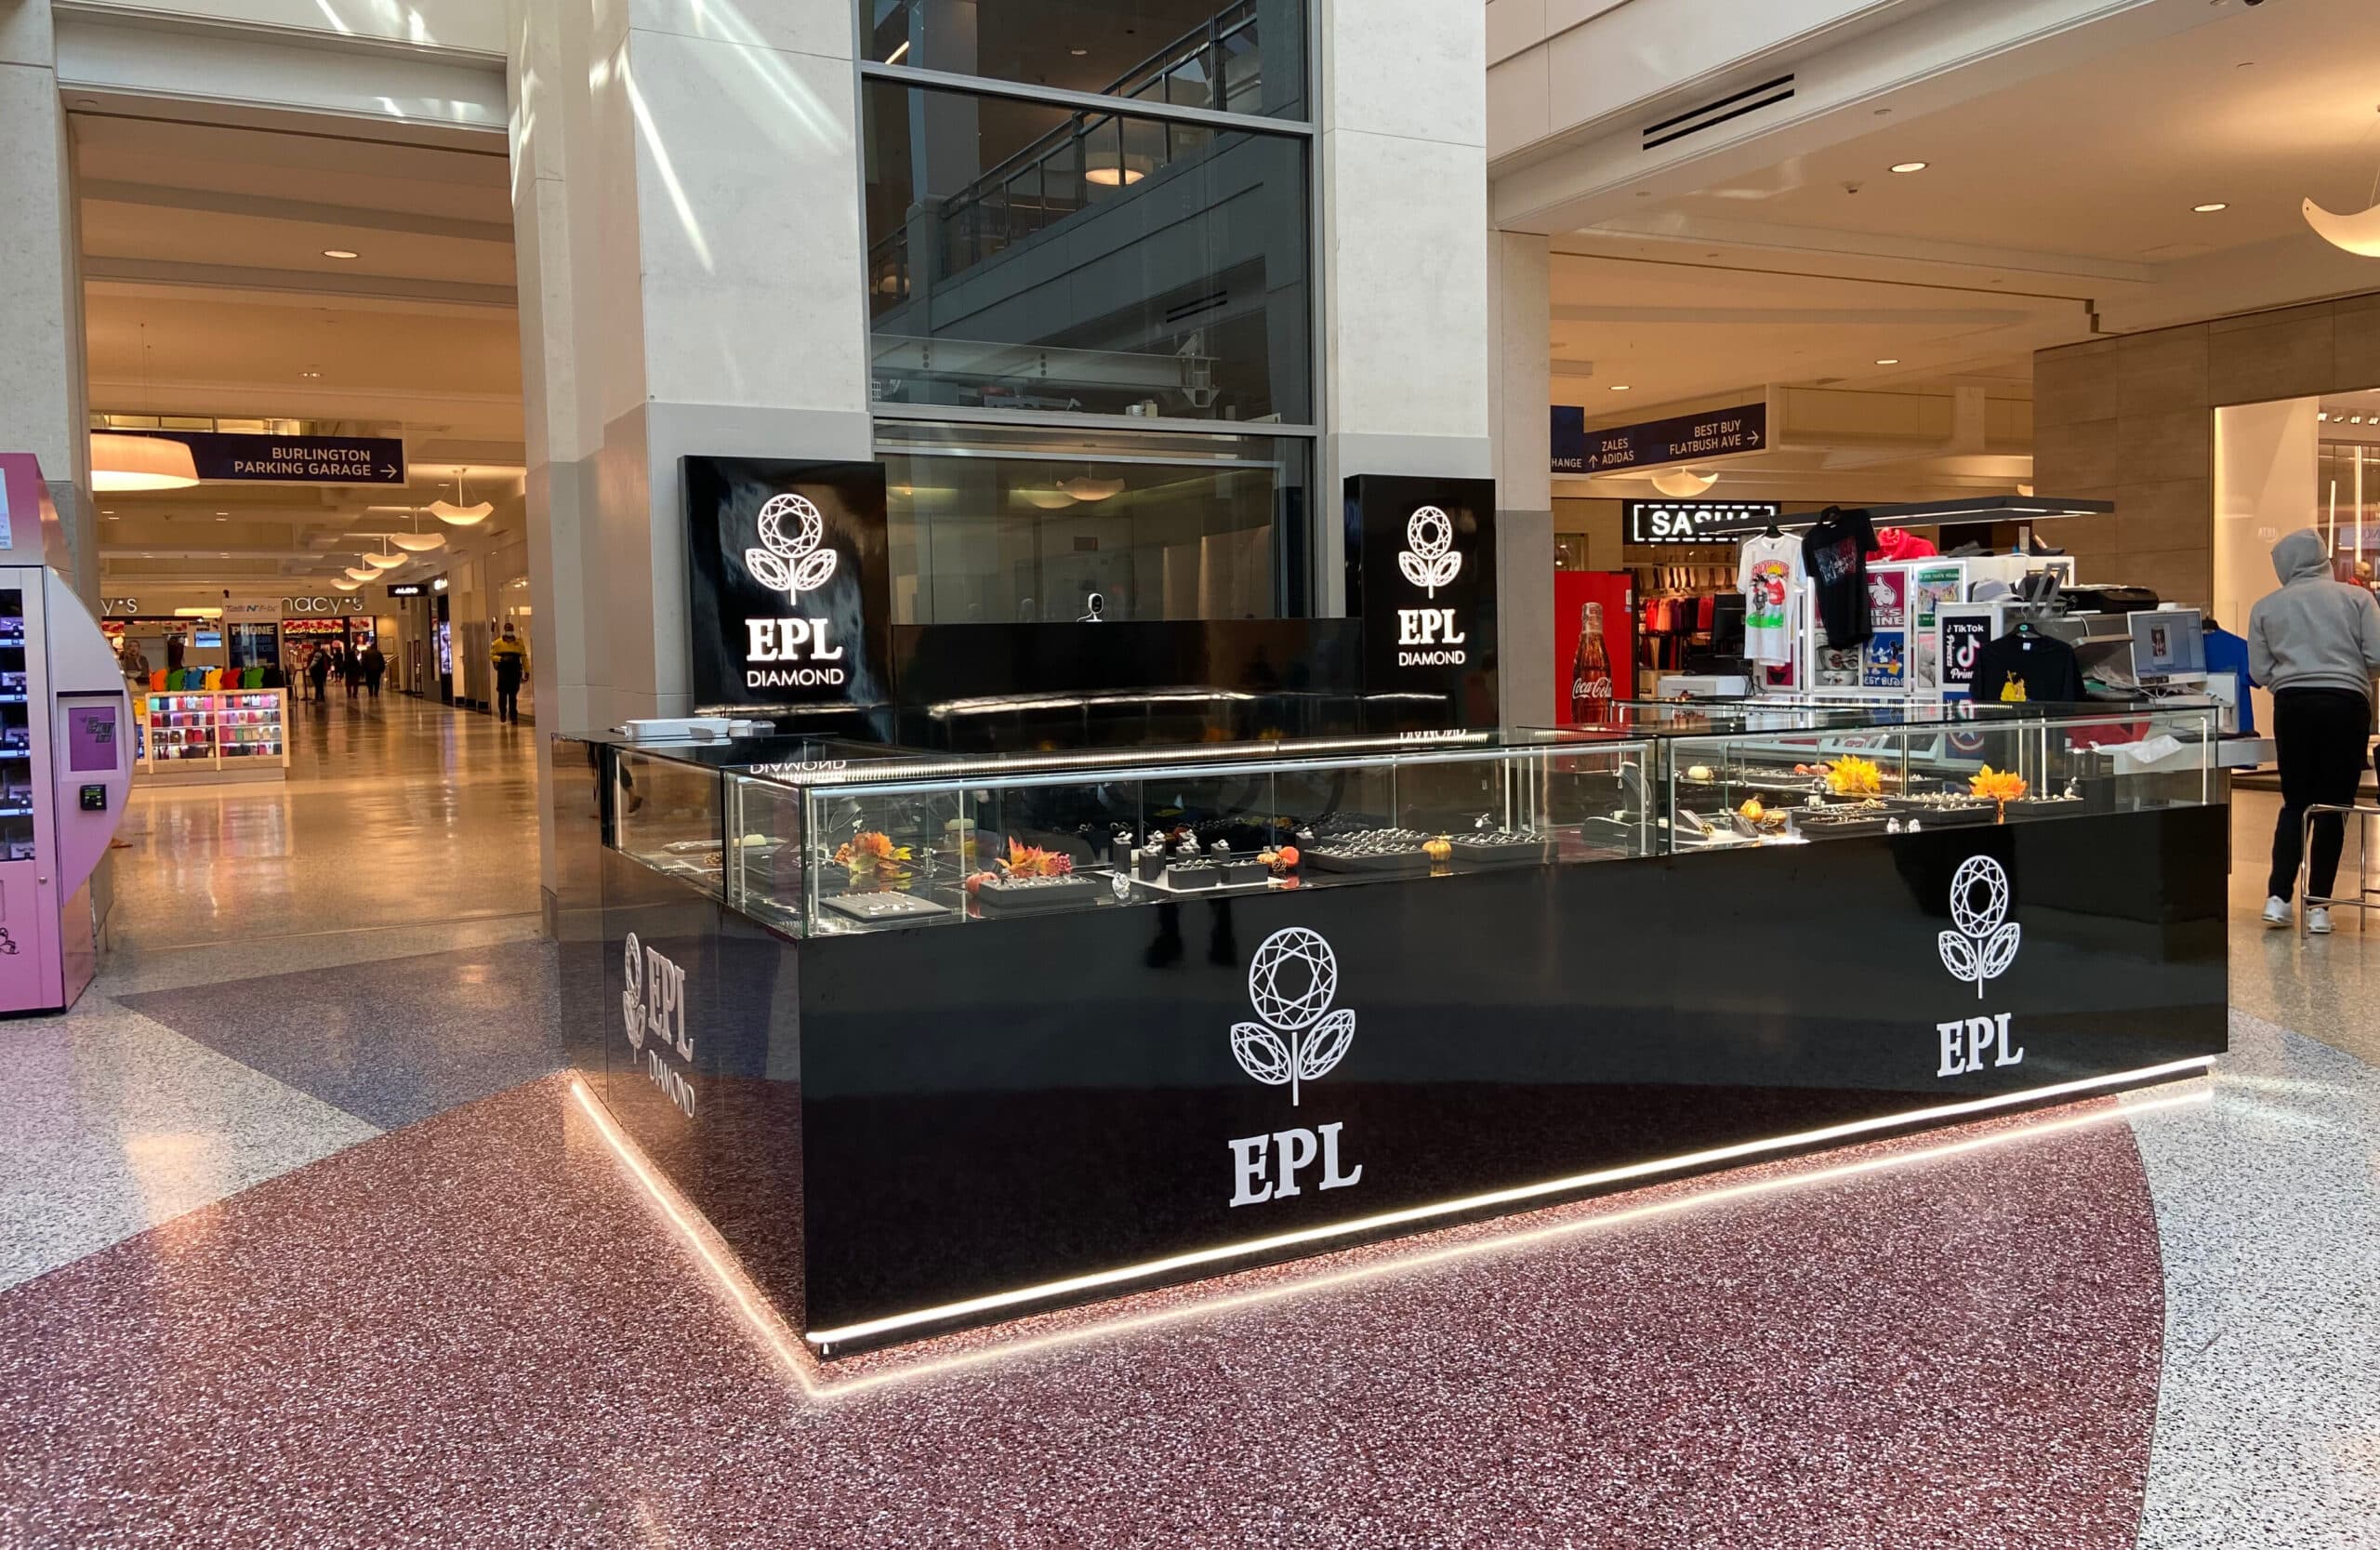